

I bought two small basil plants at the State Street Farmers Market this spring. Each were less than 6 inches tall when I transplanted them in the yard. They grew like gangbusters and provided numerous meals throughout the summer. I pulled the plants up last week, ahead of any killing frost.
I had quite a lot of basil on my hands.
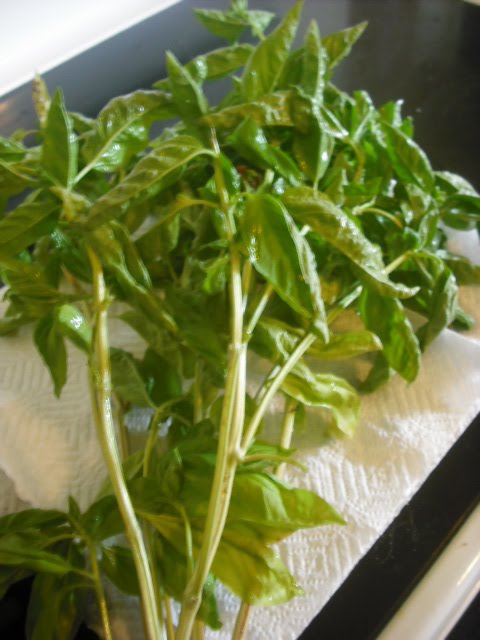
After washing and drying the leaves, I pulled them off and spread them out on paper plates to begin drying. Here's what the leaves looked like after about 12 hours.

Then after about 24 hours...

On the second day, the leaves were largely dry, but still slightly pliable. I finished drying the leaves in the microwave, at 15 second intervals. When the leaves were completely dry and crumbly, I packaged them in a small container.

I started with about 3 cups of fresh basil that shrunk to about a 1/2 cup of dried basil. But the end product will pack a punch in any Italian dishes, soups or stews to come this winter. I leave the leaves whole and crumble them when I add them to a dish. Here are some ideas for using your own.
I have a pot of basil on my kitchen counter right now. I've used it throughout the summer, and I'm hoping I can keep it going this winter. I'll let you know! And, by the way, I never connected you with my Grandmomma Lois. She was such a jewel, wasn't she? I have the most fantastic memories of her. :)
ReplyDelete